
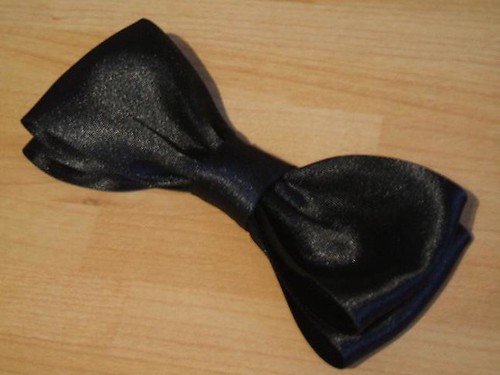
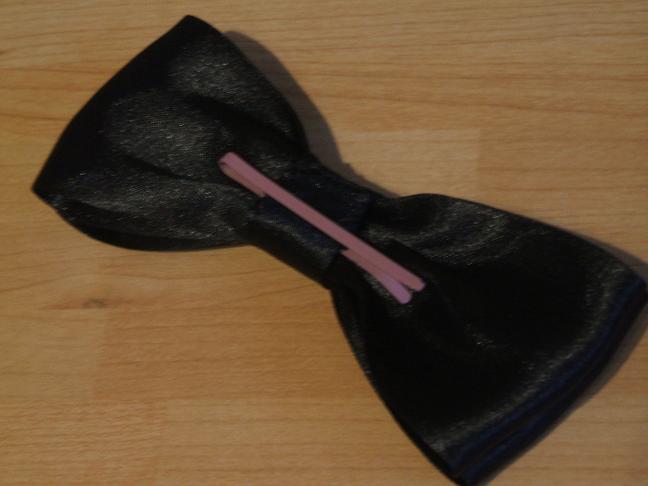
In fact to demonstrate how quick and easy this is I just whipped up another bow to provide pictures for this little tutorial. If you don't want a bow for your hair you can always make some for wrapping Christmas parcels!
To make your very own hair bow you will need:
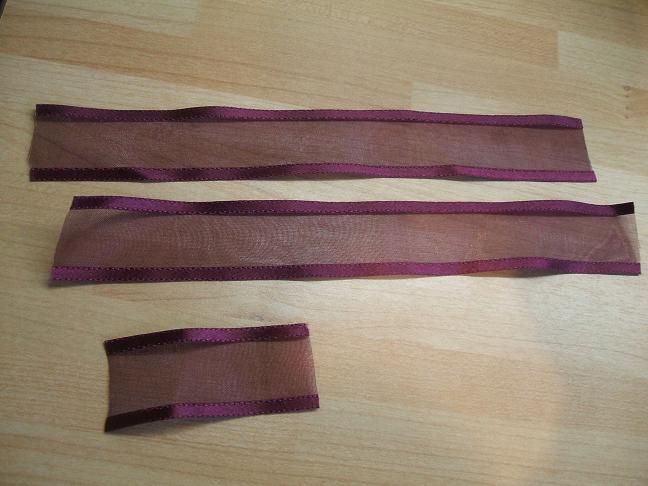
60cm of 2" satin ribbon (obviously you can use different sizes and types of ribbon to create different effects)
Needle and matching thread
A plain hair slide
Cut the ribbon into two 25cm lengths and one 10cm length.
Form one of the 25cm lengths into a loop with the ends overlapping by about 1.5cm, squash it flat with the overlapping ends in the middle and pin in place.
Repeat with the other 25cm length
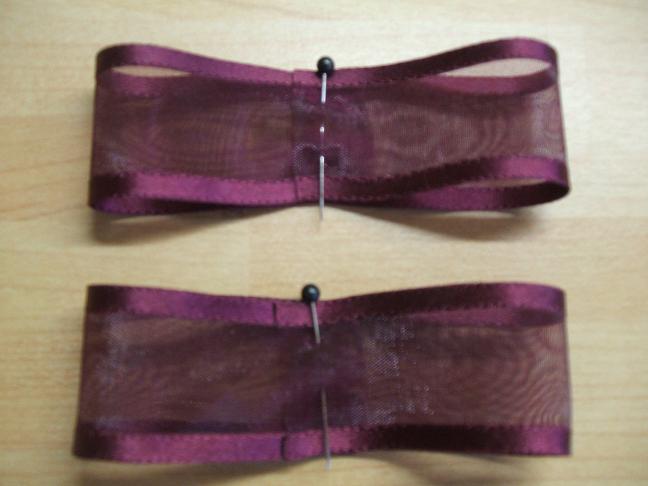
Place the two squashed loops together with the sides with the overlapping ends in the middle and pin.
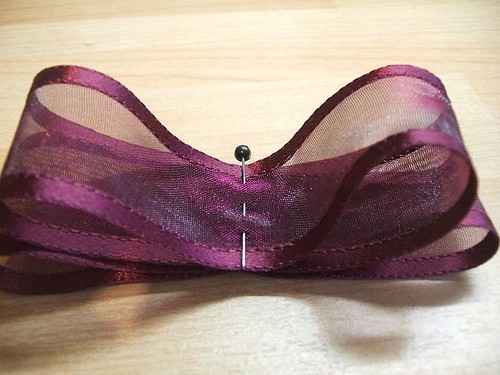
Secure the two loops together with a U shaped line of running stitch.
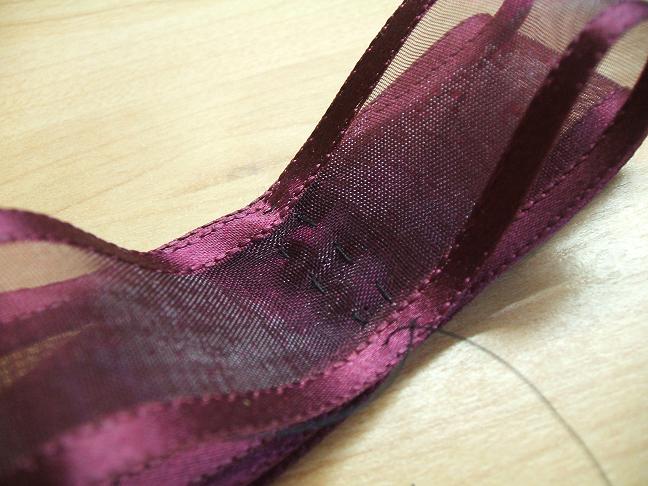
Pull taut to cinch the middle of the bow and secure.
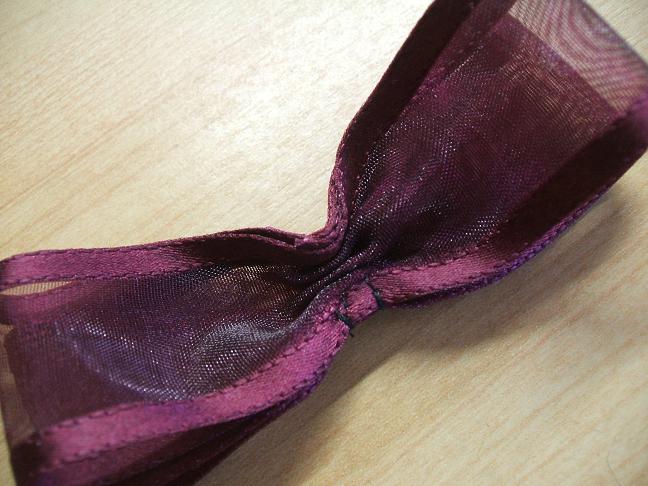
Fold the 10cm length into thirds lengthways and wrap it around the middle of the bow to form the knot. Pin in place and trim ends as required.
Stitch the ends of the knot in place using whip stitch and secure it to the bow at top and bottom.
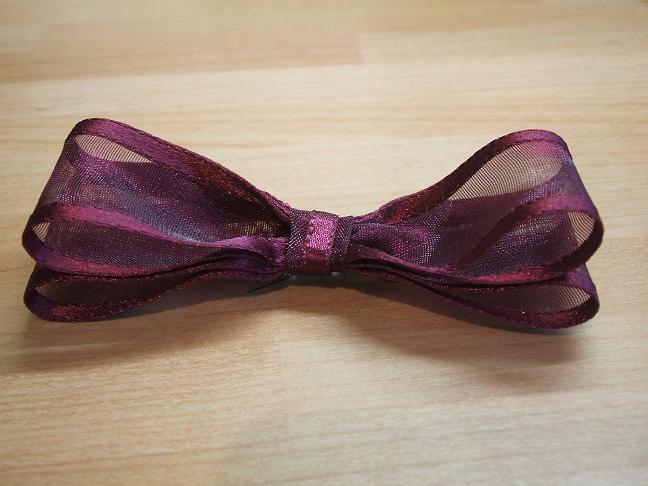
If using the bow for a hair slide either stitch or stick it in place (depending on how much time you have and the type of slide you are using) or just slip one side of the hair slide through the knot (see below).
No comments:
Post a Comment